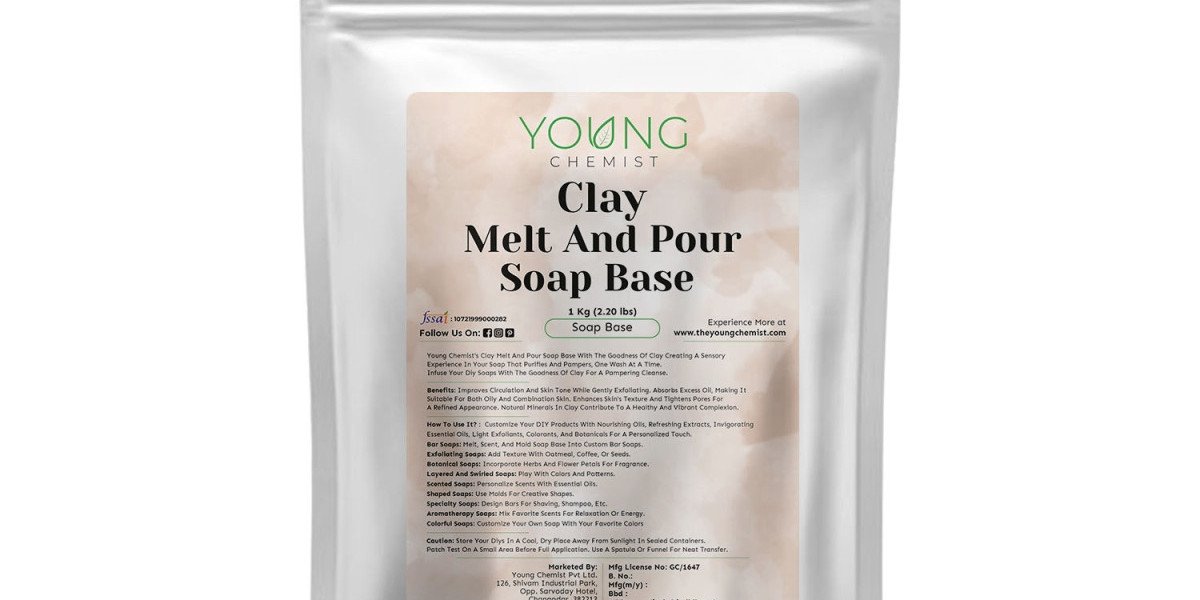
Clay Melt and Pour Soap Base: The Easy Way to Make Handmade Soap
Clay melt and pour soap base is a great way to make your own handmade soap. It's easy to use, and it's. made with natural ingredients that are good for your skin. This website will teach you how to make clay melt and pour soap, and it will also provide you with information about the benefits of using clay soap
DESCRIPTION
The Clay Melt & Pour Soap Base is a natural and versatile soap-making ingredient designed for easy crafting. It is made from high-quality glycerin combined with various beneficial clays. This soap base is free from harsh chemicals, parabens, and sulfates, making it suitable for all skin types, including sensitive skin.
BENEFITS
1. Natural Ingredients: The soap base contains natural glycerin and clay, ensuring a gentle and nourishing cleansing experience for the skin.
2. Versatility: The presence of clays adds unique properties to the soap, offering various benefits for different skin types. For example, kaolin clay can help purify and detoxify the skin, while French green clay can provide an excellent oil-absorbing function.
3. Easy to Use: As a melt and pour soap base, it requires no complex soap-making processes. Simply melt, add your desired ingredients, pour into molds, and let it cool to create your customized soap.
4. Moisturizing: Glycerin is a fantastic humectant, which means it attracts moisture to the skin, keeping it hydrated and supple.
HOW TO USE
1. Cut the desired amount of Clay Melt & Pour Soap Base into small cubes for easy melting.
2. Use a double boiler or microwave to melt the soap base. If using a microwave, heat in short intervals to avoid overheating.
3. Once melted, you can add your preferred essential oils, fragrances, colorants, or other additives to customize the soap's properties.
4. Stir gently to ensure even distribution of the additives and carefully pour the mixture into soap molds.
5. Allow the soap to cool and solidify completely before removing it from the molds. This may take a few hours, depending on the size of the soap.
6. Your handmade clay soap is now ready to use or to be gifted to others.
CAUTIONS
1. Avoid direct contact with the soap base in its melted state, as it can cause burns. Always use heat-resistant gloves or utensils when handling.
2. Conduct a patch test before using the soap on larger areas of your skin, especially if you have sensitive skin or allergies to certain ingredients.
3. While the soap base is generally safe, refrain from ingesting it, as it is for external use only.
4. Store the Clay Melt & Pour Soap Base in a cool, dry place, away from direct sunlight and moisture, to prevent premature melting and preserve its quality.
5. Keep the soap base out of reach of children and pets to avoid accidental ingestion or mishandling.
Follow these instructions and cautions to enjoy a delightful and skin-friendly soap-making experience with the Clay Melt & Pour Soap Base.
More : https://www.theyoungchemist.com/detail/clay-melt-amp-pour-soap-base.html


