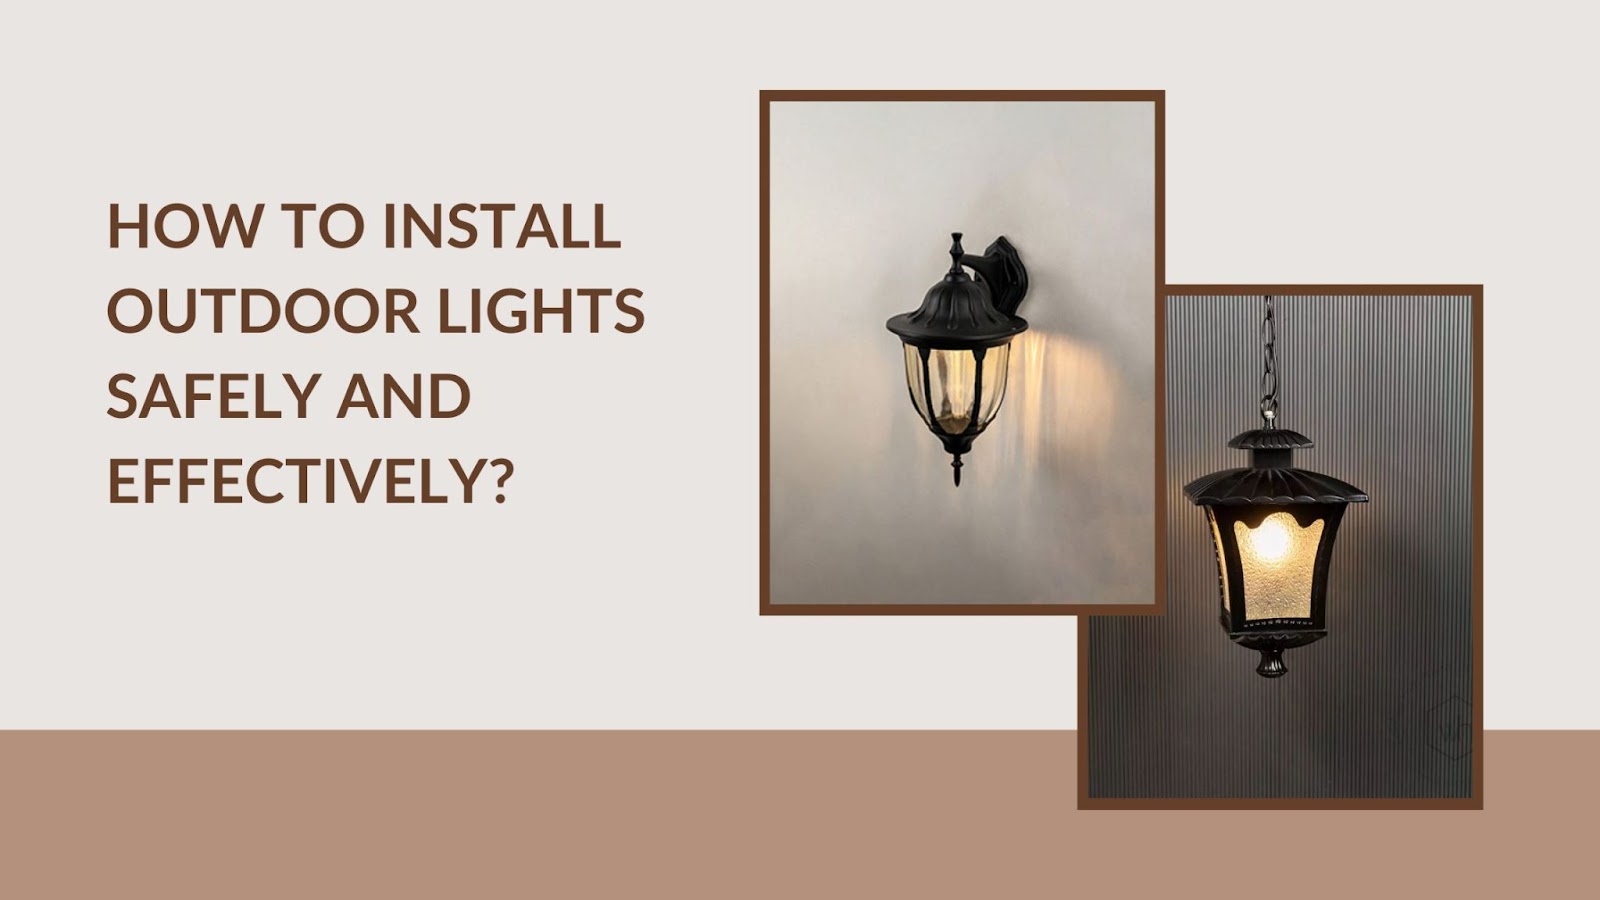
Outdoor lighting can transform your home's exterior, adding both beauty and security. Installing outdoor lights, however, requires careful planning and execution to ensure safety and effectiveness. This guide will walk you through the process, step by step, to help you achieve the best results.
1. Planning Your Outdoor Lighting Installation
Before you start the installation, it's essential to plan where you want the lights to be placed. Consider the following:
Purpose of the Lighting: Are you installing the lights for security, decoration, or both? Security lights should cover entry points and dark areas, while decorative lights can highlight landscaping or architectural features.
Type of Lights: Choose the appropriate type of lights for your needs. Common options include wall-mounted lights, pathway lights, and spotlights. LED lights are energy-efficient and long-lasting, making them a popular choice for outdoor use.
Power Source: Decide whether your lights will be hardwired into your home's electrical system, powered by solar energy, or run on batteries. Hardwired lights require more installation effort but offer consistent power, while solar lights are easier to install but depend on sunlight.
2. Gathering the Necessary Tools and Materials
Once you've planned your lighting setup, gather the tools and materials you'll need. Here's a basic list:
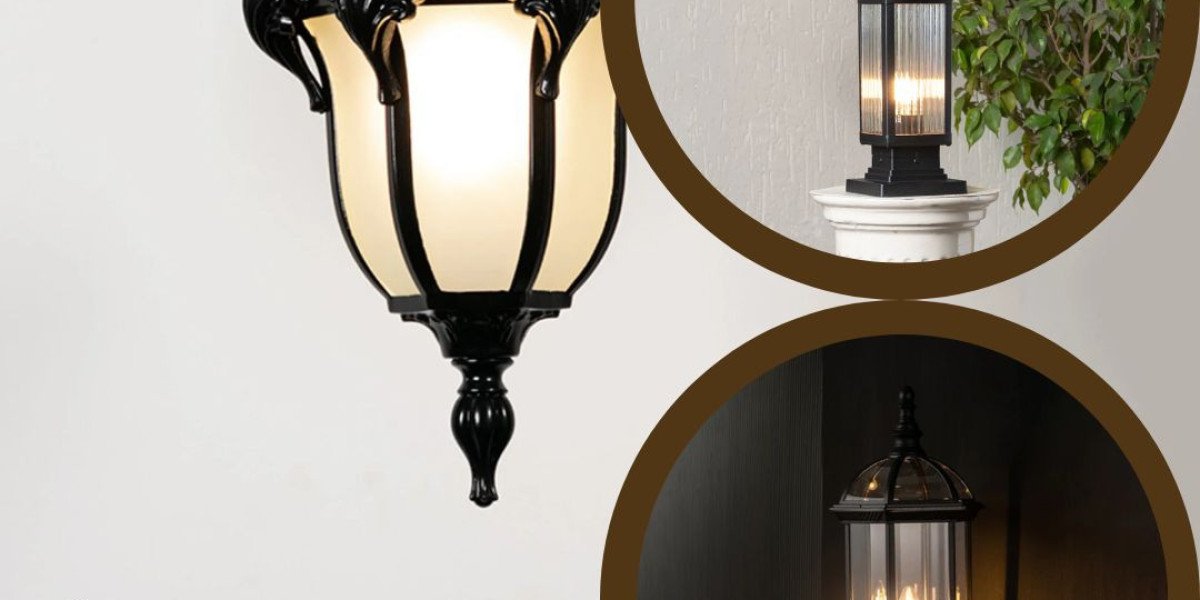
Outdoor Lights: Purchase lights designed for outdoor use, as they are built to withstand weather conditions.
Electrical Wire: If you're hardwiring the lights, you'll need outdoor-rated electrical wire.
Drill and Drill Bits: To create holes for mounting the lights.
Screwdriver: To secure the lights in place.
Wire Strippers: To strip the insulation from the wires.
Electrical Tape: To secure wire connections.
Voltage Tester: To ensure the power is off before working with wires.
Ladder: To reach higher areas, such as leaves or trees.
3. Safety Precautions
Safety is paramount when working with electricity. Follow these precautions to avoid accidents:
Turn Off the Power: Always turn off the power at the circuit breaker before working with electrical wires. Use a voltage tester to confirm that the power is off.
Use Weatherproof Equipment: Ensure all fixtures, wires, and connections are weatherproof and suitable for outdoor use.
Avoid Wet Conditions: Never work with electricity in wet or damp conditions. Wait for a dry day to do the installation.
Wear Protective Gear: Use insulated gloves and wear rubber-soled shoes to reduce the risk of electrical shock.
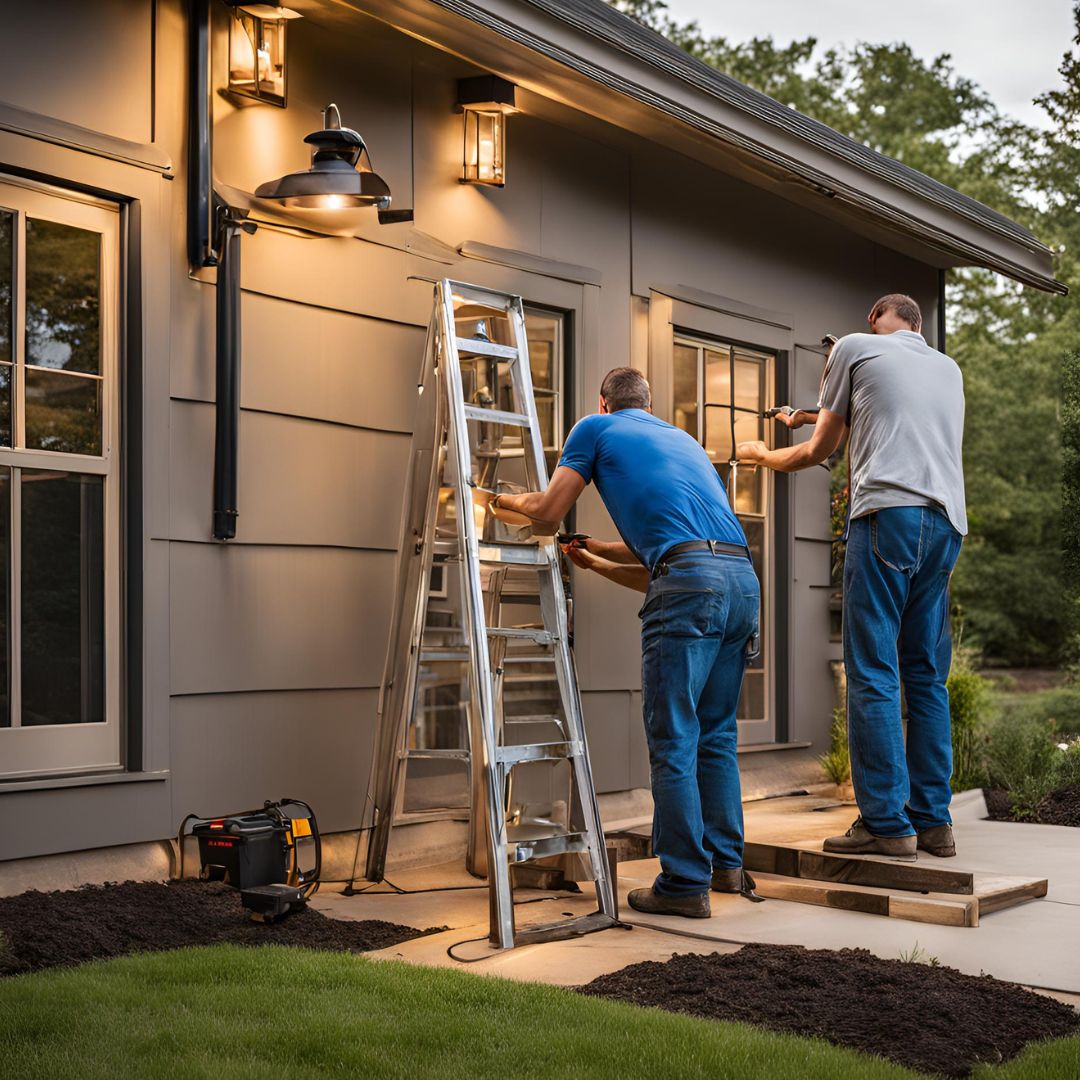
4. Step-by-Step Installation Process
Now that you're prepared, let's go through the installation process:
a) Mark the Locations
Start by marking the spots where you want to install the lights. Use a pencil or chalk to make small marks on the walls or ground.
b) Drill Holes for Mounting
Using the appropriate drill bit, create holes where you'll mount the lights. For wall-mounted lights, drill into the wall where you've marked. If you're installing pathway lights, make small holes in the ground.
c) Run the Electrical Wire
If you're hardwiring the lights, run the electrical wire from your home's power source to the light fixtures. Make sure to use outdoor-rated wire and keep it hidden by running it along the edges of walls or burying it underground.
d) Connect the Wires
Strip the insulation from the ends of the wires using wire strippers. Connect the wires from the light fixture to the corresponding wires from your power source (usually black to black, white to white, and green to ground). Secure the connections with wire nuts and wrap them with electrical tape.
e) Mount the Lights
Secure the light fixtures in place using screws and a screwdriver. Ensure that they are tightly mounted and properly aligned.
f) Test the Lights
Once the installation is complete, turn the power back on at the circuit breaker. Test the lights to ensure they are working correctly. If they don't light up, turn off the power again and double-check the connections.
5. Maintaining Your Outdoor Lights
Regular maintenance will keep your outdoor lights functioning well and looking great:
Clean the Fixtures: Over time, dirt and debris can accumulate on the fixtures, reducing their brightness. Wipe them down with a damp cloth periodically.
Check the Bulbs: Replace burnt-out bulbs promptly to ensure consistent lighting.
Inspect the Wiring: Periodically check the wiring for any signs of wear or damage. Replace any frayed or exposed wires to prevent electrical hazards.
Adjust the Fixtures: If your lights have shifted due to weather or other factors, adjust them to ensure they are still positioned correctly.

6. Tips for Effective Outdoor Lighting
To make the most of your outdoor lighting, consider these tips:
Use Timers or Motion Sensors: Installing timers or motion sensors can save energy and enhance security. Motion sensors turn lights on when movement is detected, while timers can automatically turn lights on and off at specific times.
Layer Your Lighting: Combine different types of lights to create layers of illumination. For example, use pathway lights to guide guests, spotlights to highlight trees or sculptures, and wall-mounted lights for general illumination.
Choose the Right Bulb: Opt for LED bulbs, as they are energy-efficient and have a long lifespan. Ensure the bulbs are bright enough for the intended purpose but not too glaring.
7. Conclusion
Installing outdoor lights can significantly enhance the beauty and security of your home, but it's crucial to do it safely and effectively. By planning carefully, following safety precautions, and maintaining your lights, you can enjoy a well-lit outdoor space for years to come. Whether you're highlighting your garden, brightening up a pathway, or securing your home, proper installation and maintenance are key to making the most of your outdoor lighting investment.
Whispering Homes offers a wide range of outdoor lighting options to suit every need. Explore our collection to find the perfect lights for your home and create an inviting, well-lit outdoor environment.