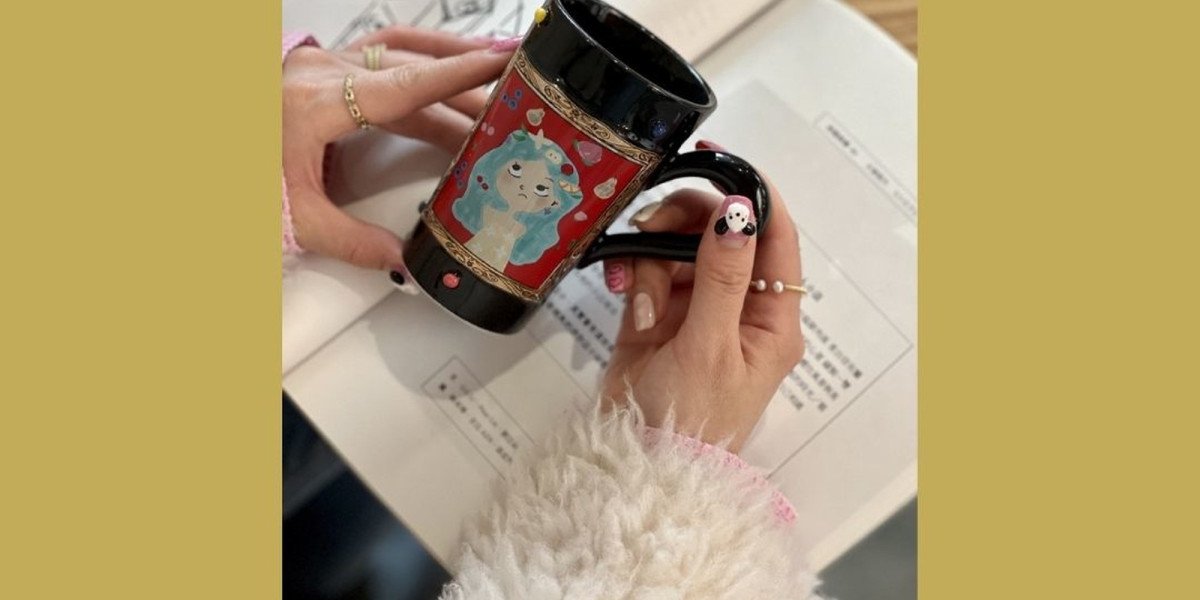
In this blog, we’ll dive into the process, materials, and tips to help you achieve stunning results every time you sublimate mugs.
What is Mug Sublimation?
Sublimation is a heat transfer process that uses sublimation ink to print a design onto a special sublimation paper. The design is then transferred onto the mug using heat and pressure. The magic of sublimation lies in the way the ink turns into a gas without passing through a liquid state, allowing it to bond permanently with the coated surface of the mug. This results in vibrant, durable designs that won’t peel, crack, or fade over time.
Materials You’ll Need for Mug Sublimation
Before you get started, it’s essential to gather the right tools and materials to ensure your sublimation project turns out as expected. Here’s a list of what you’ll need:
Sublimation Printer and Ink: A specialized printer that uses sublimation ink is necessary. Standard printers won’t work with sublimation.
Sublimation Paper: This paper is designed to hold sublimation ink and release it onto your mug during the heat transfer process.
Mugs with Poly-Coating: Not all mugs are created equal. For sublimation to work, you’ll need specially coated mugs that can absorb the sublimated ink.
Heat Press or Mug Press: A heat press is used to transfer the design from the sublimation paper to the mug. A mug press, which is designed to fit the cylindrical shape of a mug, is ideal for this process.
Heat-Resistant Tape and Gloves: These help secure the design on the mug and protect your hands from burns while working with hot equipment.
Design Software: A design program like Adobe Photoshop, Illustrator, or even free tools like Canva allows you to create and print custom designs for your mugs.
Step-by-Step Guide to Sublimating Mugs
Design Your Artwork: Start by designing your custom graphic. Keep in mind the size and shape of the mug, and make sure your design is appropriately sized to fit.
Print Your Design: Using your sublimation printer and sublimation paper, print the design. Ensure the design is mirrored (flipped horizontally) before printing since it will transfer onto the mug in reverse.
Position the Design: Secure the printed design onto the mug using heat-resistant tape. The design should be facing the mug, and the tape should hold it tightly in place to prevent any movement during the transfer.
Press the Mug: Place the mug into your mug press and apply heat and pressure according to the mug press’s instructions. Generally, sublimation requires a temperature of around 400°F (204°C) and a pressing time of 4-5 minutes.
Let It Cool: Once the press is done, carefully remove the mug and let it cool before peeling off the paper. Use heat-resistant gloves to avoid burns.
Admire Your Work: Your custom mug is now ready! The design is permanently embedded into the surface, ensuring it’s dishwasher-safe and long-lasting.
Tips for Perfect Sublimation
- Choose High-Quality Mugs: Cheaper mugs may not have the proper coating for sublimation, leading to dull or incomplete designs.
- Avoid Moisture: Any moisture on the mug or in the ink can interfere with the sublimation process, so ensure everything is dry before starting.
- Experiment with Timing: The temperature and duration of the pressing process may vary depending on your equipment and mug type, so don’t be afraid to adjust these settings if needed.
Conclusion
Mug sublimation is a creative and exciting way to customize mugs with stunning, full-color designs. By following the steps and tips outlined in this guide, you’ll be well on your way to mastering the art of mug sublimation, whether for personal use or as part of a growing business.


