Air compressors are one of the most important tools in industrial production, and in fact, it is necessary to run proper maintenance regularly so it can provide you with efficient results. However, first, we need to know how the air compressor functions. An air compressor converts potential energy, for example, diesel, gasoline, etc. into potential energy. This energy stores in air compressors that result in high pressure.
How to Read a Pressure Regulator?
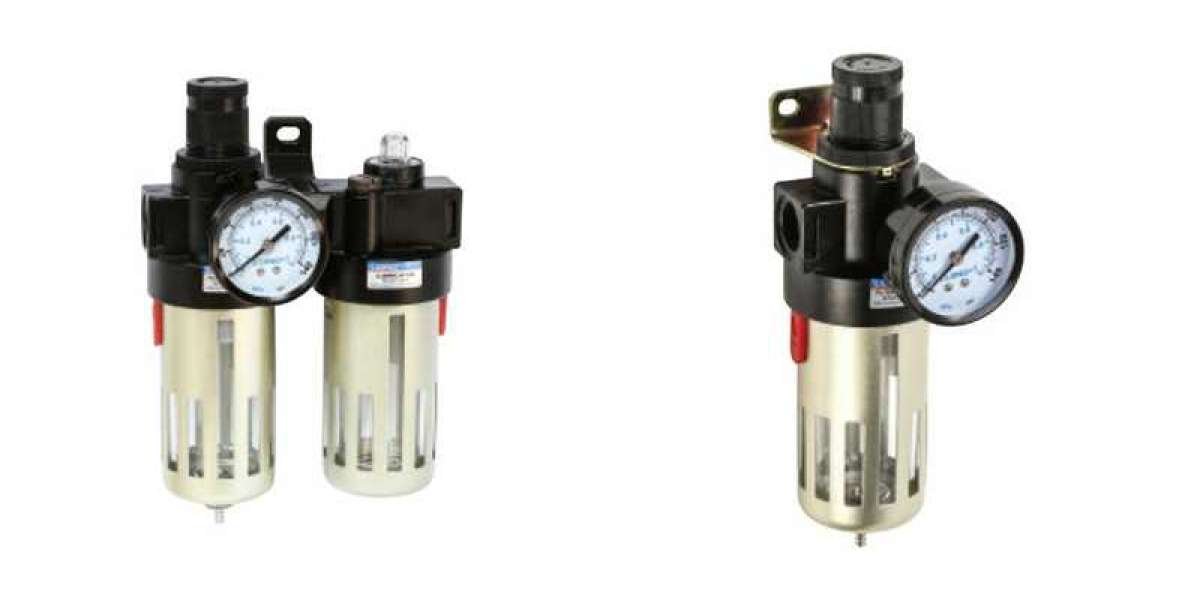
Pressure regulators are actually very simple to read, all that you will need to look at the arrow that moves on the regulator. You should be able to see it increasing when you’re looking at it and when the air compressor has just turned on. Once you can see that it’s working, you will need to check the PSI on the tool you want to use. This is because you will need the pressure regulator to match this number if you want the tool to be able to work correctly.
Easy Steps to Adjust Your Regulator
Once you are satisfied that you have all the right tools and you have sufficiently mitigated the risk of accidents as we have seen above, embark on the actual process of adjusting your compressor regulator.
Plug Compressor into Electrical Socket
Since air compressors use electricity, choose the appropriate electrical socket and plug it into it. For you to make this decision, consider that electrical cord that your machine came with. Many of them are equipped with a 3-prong electrical cord.
A few others come with a 4-prong electrical cord. You should use the former with a standard 110 outlet. This means a 3-prong electrical cord is best for home projects. If your air compressor is equipped with a 4-prong electrical cord, use it for 220 outlets. You will likely find these nowhere other than in garages and workshops. In this regard, you need to know beforehand that the type of work that you want to do should determine your choice of air compressor and the electrical sockets.
Prepare and Power On Safely
Before you power on your air compressor, do the necessary preparations. The nature of groundwork will depend on the type of air compressor that you have.
If you have an electric compressor, use the power button to power it on. Many are dependent on oil. If yours is one of them, ensure the amount of oil in the machine is enough to make your air compressor to work correctly. Without this, your device will not have a tight seal and will be prone to getting very hot. If you have the type that runs on gas, be sure you have some gasoline on hand and then turn on the power button.
Wait for the Compressor to Fill
You will see the larger pressure gauge on the side of the tank. Watch it and wait for the needle to stop moving. At this point, the air inside has hit the maximum limit. Depending on the unit capacity, your proper air pressure (PSI) will range from between 100 and over 200 per square inches. Use the second small one that is near the hose to know the exact amount of pressure, or the airflow (CFM), that is in the hose. The display will be static at this point, which is okay.
Ascertain the Suitability of Your Tools
Consider the air tools you are planning to use with this unit as soon as it reaches full pressure. For you to make the best decision, check the manufacturer guide. It will give you essential information on the types of air tools that you should use with the unit and how to ensure optimum output.
If you do not have the manufacturer guide, carefully check the air tools. These essential pieces of information are usually on these tools. Look for letters or stickers on their underside, especially near the handle. If you cannot find it there, you must look for your owner’s manual or contact the manufacturer.
The rationale for doing all these is to be sure you know the exact amount of pressure your tool requires. For example, if you learn that it functions with a maximum of 90 PSA, ensure the hose pressure remains at between 75 and 85 PSI. This is done for nothing but safety reasons.
Since every tool has a different rating, do not assume that this one rate will apply across the board. Be sure you adjust the pressure accordingly every time you switch tools. Do not ignore any slight differences.
If you are using a spray gun, 6CFM will be enough. A Die Grinder will require not less than 8 CFM. Even though these two tools are close in CFM levels, you must avoid making the common but dangerous decision. Use the right pressure. This most likely perfectly illustrates to you the degree of seriousness of the need to switch the levels of air pressure every time you change the air tool that you ate using.
In short, by following these easy steps above, now you know how to adjust air compressor pressure regulator like an expert and have your machine run smoothly in no time. Choose the right High Pressure Air Regulator is also important, here I recommend you visit Filter Regulator manufacturer https://www.nblida.com/product/air-treatment/